Comdata Expense Management System -- CEMS |
 |
Comdata Expense Management System -- CEMS |
|
Setting up billing periods is a way to group transactions in CEMS. This feature will help you keep track of your transactions and review them accordingly. During your initial setup for CEMS, the current and previous billing months will automatically be created for you. You will need to manually setup other billing periods.
Transactions will automatically populate in the billing period depending on the date range you create. For example, if you create a billing period with the start date 3/1/2016 and end date 3/30/2016, any transaction that falls in that date range will appear in the billing period.
Billing periods are viewable to all user roles, but only an administrator may create and modify billing periods.
The following steps describe how to create a billing period.
1. Select from the main menu bar.
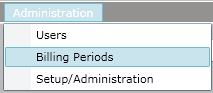
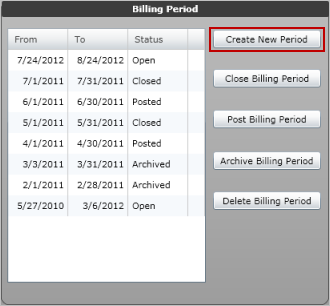
2. Locate the Billing Period section on the left side of the page.
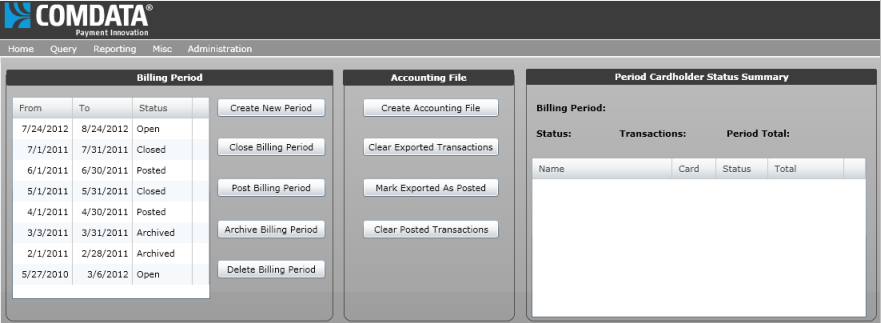
3. Select Create New Period.
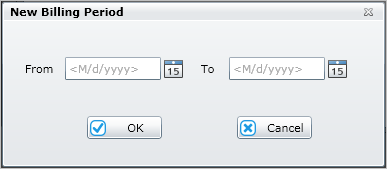
4. In the New Billing Period window, select the From and To dates and then select OK.
Note: You can make a billing period as long or short as it needs to be. However, the billing period you create cannot overlap with an existing period. For example, if you have a billing period that starts at 10/1/2014 and ends at 10/7/2014, then you cannot make a billing period that starts at 10/5/2014 and ends at 10/10/2014. Each new billing period must start the day after the last one ended.
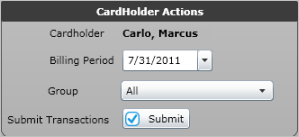
Once you have a defined billing period, it will be available in all operations that require you to search by a date. For example, when you access a Cardholder’s Transaction Coding page, you can choose a different billing period from the CardHolder Actions box. All transactions that fall under the dates you specify will appear in the billing period you create and will be listed by cardholder name.
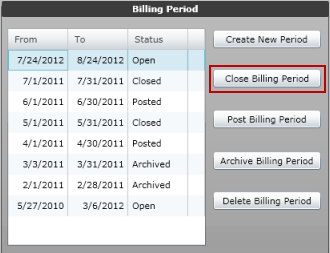
Select an open billing period and then select Close Billing Period. Once a billing period has been closed, no new transactions can be added. However, coders, approvers, and cardholders may still code and approve transactions in a closed billing period. Selecting this option simply states that the transactions are ready for review and approval.
Note: You cannot add cash transactions to a closed billing period. See Cash Transactions for more information.
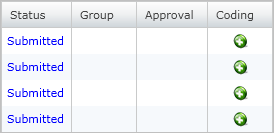
Once a billing period has been closed, a submit button will appear on the Cardholder Transaction Coding page.

Selecting the submit button will change all the cardholder's reviewed transactions in the billing period to the submitted status. All transactions must be in reviewed status and have proper coding.
The submitted status is similar to the reviewed status except that you cannot make changes to the transaction. The submitted status indicates that the transaction is fully ready to be reviewed by an approver. If a transaction is in reviewed status, users may make additional changes. If the transaction is submitted, it should remain untouched by all users except the approver.
Once a billing period has been closed, you can now post the transactions. Select a closed billing period and then select Post Billing Period.
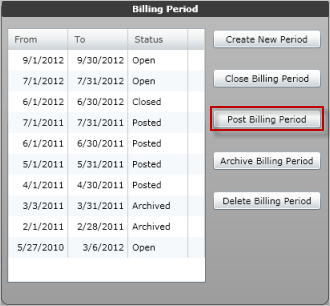
Posting a billing period updates all transactions for every cardholder as posted. Selecting this option simply indicates that the transactions have all been approved and are ready to be exported back to your ERP. Therefore, you should only post a billing period after all of the transactions have been approved. Otherwise, you run the risk of creating inaccuracies in your company's finances.
Reminder: A billing period must be closed before you can select this option.
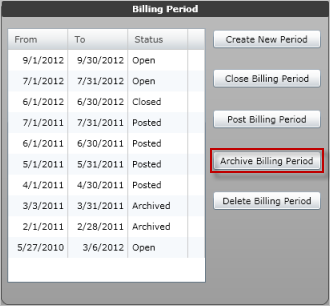
Archiving a billing period saves it for your records. Once you archive a billing period, it will only be available on the billing period and query pages. You cannot make any additions or changes to an archived billing period.
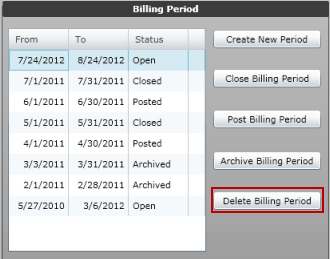
To delete a billing period, select one from the list and then select Delete Billing Period. Once you delete a billing period, it will disappear from the list of periods, but the transactions will remain in CEMS. Simply create another billing period to re-group the transactions. A billing period does not need to be in a specific status in order for it to be deleted.
This option is especially useful if you want to remove transactions from one billing period and re-group them in another.
Note: You cannot remove one transaction at a time from a billing period. If you notice only a few transactions are in the wrong billing period, or if you want to change the date range, you must select the delete option to remove all transactions and start over.
An accounting file is used to export transaction data from CEMS back to your ERP. Creating the accounting file downloads a text document that holds all transaction data in a specified time period. Depending on your ERP system, the format of the file may be different.
1. On the Billing Periods page, select a billing period and then select Create Accounting File.

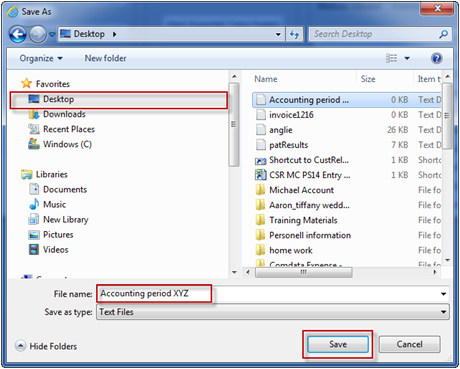
2. Enter a name for the accounting file and locate a destination on your computer. Then, select Save.
3. The Accounting File Parameters window opens. Complete each field accordingly. Select OK when finished. Note that some fields may not be available depending on your ERP.
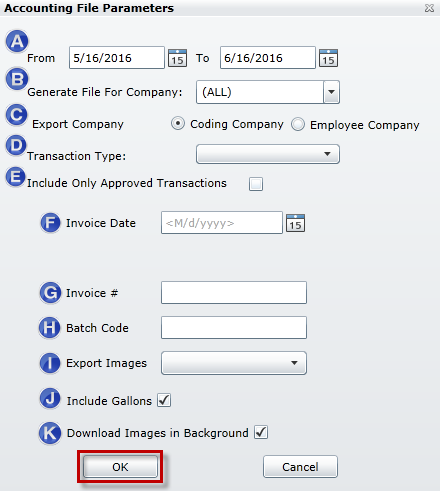
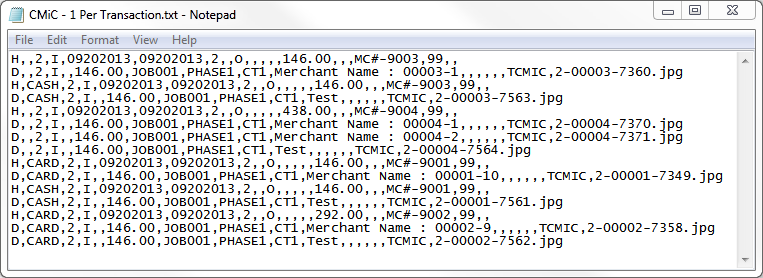
Note: For CMiC and Viewpoint ERP users, the title of the image file is displayed at
the end of the accounting file.
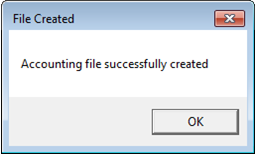
If successful, you should receive the following message: "Accounting file successfully created."
Example of Accounting File
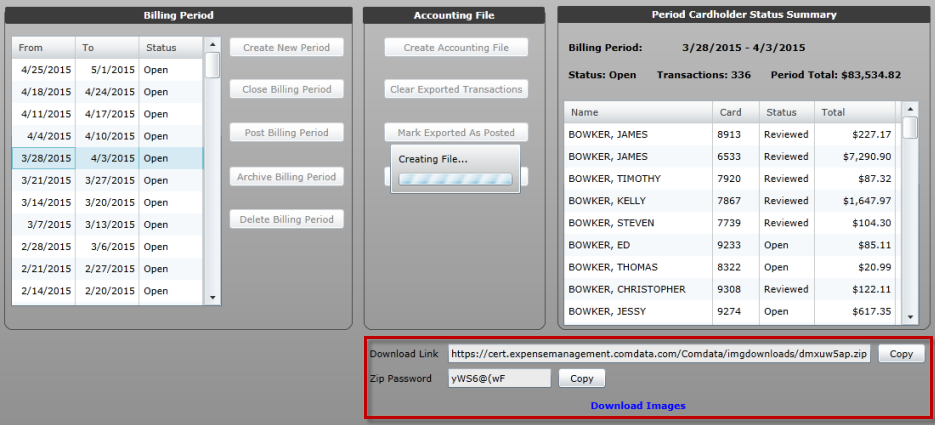
If transactions contain attached images in the billing period, you can download the images into a zip file separate from the accounting file. This process prevents any possible system timeout issues that can occur if the billing period contains a large amount of transaction images.
After selecting OK on the Accounting File Parameters window, you will be prompted to run a report on the accounting file.
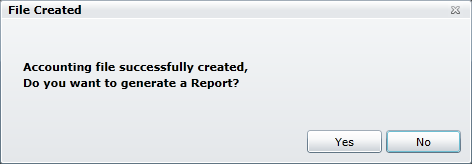
If you select Yes, a report will generate displaying all of the information in the exported accounting file. This is helpful in clearly seeing all your exported data.

If you notice a mistake when you first create the accounting file, select this option to delete it and start over.
After you have successfully exported the accounting file, select this option to mark all transactions as posted.
If you notice the wrong transactions have been marked as posted, select this option to clear all posted transactions and start over.
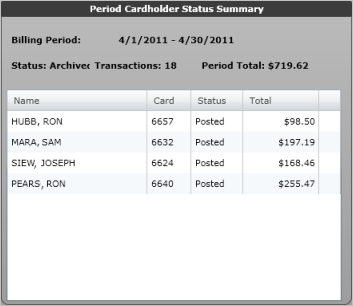
When you select a billing period, all cardholders and their expense reports will populate in this section. The Period Cardholder Status Summary is similar to the dashboard on the home page, but is purely for viewing. You cannot view any additional information by selecting a cardholder's name.