Comdata Expense Management System -- CEMS |
 |
Comdata Expense Management System -- CEMS |
|
As an administrator, you have responsibility for setting up individuals in your organization with one of the four CEMS user roles: Administrator, Approver, Coder, or Cardholder.
Normally, your employees will be automatically entered in CEMS through a CD00009 file sent from Comdata. This file is sent with the AC29 file (transaction information) on a daily basis, keeping your employee database constantly updated. Should you need to manually add an employee, you can use the following process.
Note: Records sent through the CD00009 file display employee names in all capital letters. Records that you manually set up are displayed in the format you entered them.
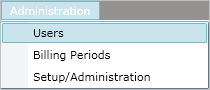
1. Select from the main menu bar.
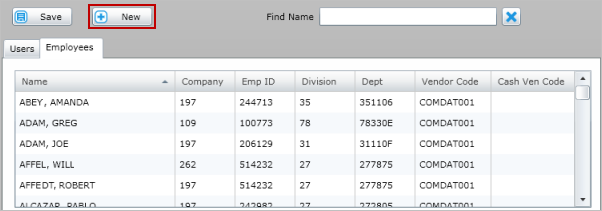
2. Select the Employees tab. All of your employees currently loaded into CEMS will populate. Select New.
3. In the Cardholder Profile section at the bottom of the page, complete each field as necessary then select Save. The employee record is now created. The next step is to assign them a user role.
Note: You can go back and update an existing employee's information at any time. The updated employee profile will retain any associated transaction or coding data. You cannot change the employee's company or employee ID if they have coded transactions.
Check the Create Cardholder check box when adding an employee record to identify the employee as a non-Comdata cardholder. This user will be responsible for entering out-of-pocket cash expenses in CEMS.
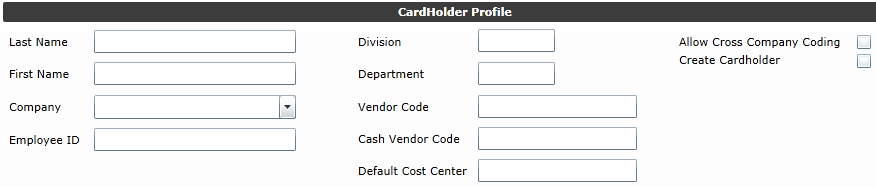
Ensure that you select the Create Cardholder checkbox if you're creating a cardholder. If not, you can create a non-Comdata cardholder user responsible for entering out-of-pocket cash expenses in CEMS.
The Import Employee file section offers the ability to update multiple existing employee profiles at once. The values you can update include company, Employee ID, Division, Department, Vendor Code, Cash Vendor Code, and Default Cost Center.

Example
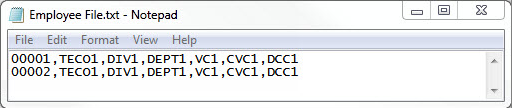
The updated values in the file (excluding Company and Employee ID, which are not updatable) must observe the following requirements.
|
Field |
Maximum Characters |
Allow Blank (Y/N) |
|
Division |
5 |
Y |
|
Department |
6 |
Y |
|
Vendor Code |
10 |
Y |
|
Cash Vendor Code |
10 |
Y |
|
Default Cost Center |
10 |
Y |
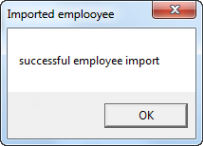
You should receive a success message after import.
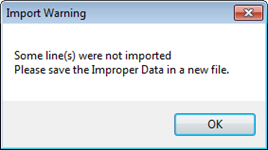
If your import file contains both valid and invalid employee records, CEMS generates an improper data file. To review this file, select Save Improper Data after you have imported.
Warning message
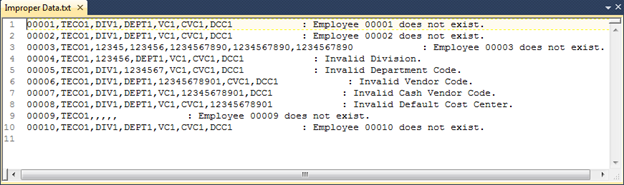
Save Improper Data

The improper data file contains brief explanations for your failed imports.
Once an employee record is added to CEMS, you must assign them a user role before they can access the system.
1. Select from the main menu bar.
2. The page opens with the Users tab automatically selected. Select New to open a list of all your employees.
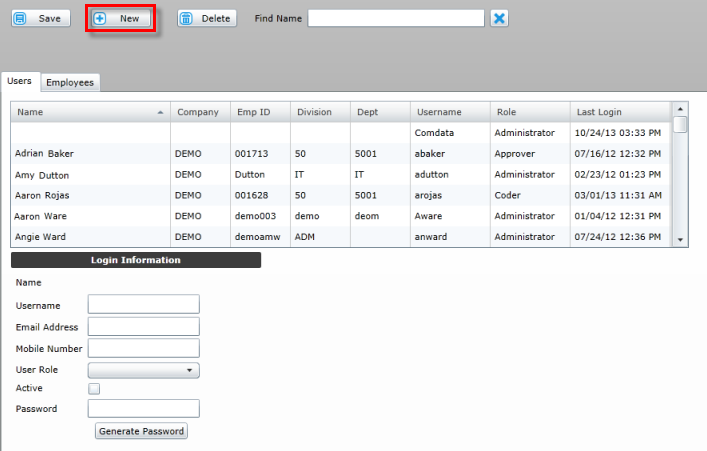
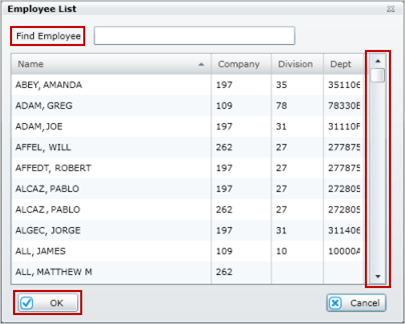
3. On the Employee List window, type the employee’s name in the Find Employee field or use the scroll bar to search for them. Once you find the employee, select OK.
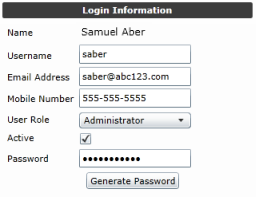
4. The Login Information section at the bottom of the page will populate with the cardholder's name and information.
Enter the following information for the new user.
| Field | Description |
| Name | This field will automatically populate with the first name, last name, and middle initial (if applicable) of the employee you chose. |
| Username | Create a user name for your new user. Typically, a user name will consist of the first letter in the new user’s first name and their entire last name. However, you can make any user name you wish. |
| Email Address | Enter the user's e-mail address. |
| Mobile Number | Enter a convenient phone number for the user. |
| User Role |
Use the drop-down menu to select the user's role. If you select either Coder or Approver as the user role, the Coding & Approving List will display to the right. 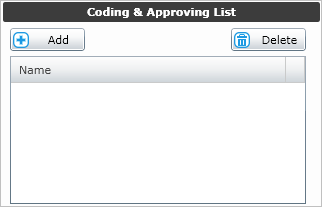 Select the Add button to open the Employee List window (same as step 3 above) and add cardholders for your approver or coder. Note: The system requires you to save changes for the user you are setting up before adding to the Coding & Approving List. |
| Active | Select this check box if you want the user to be active upon creation. |
| Password | Create a password for the new user or select Generate Password. Please be aware that if you select Generate Password, the password will not be automatically e-mailed to the user. The password will be copied into a clipboard which can be pasted into an e-mail for the user. |
5. Select Save when finished. The new user is now set up in the system.
Note: If the employee records was not marked as Create Cardholder (see step 3) and the user is set up with the Cardholder user role, a confirmation window displays. Read the User Confirmation window and select Yes if the user is meant to be a non-Comdata cardholder. This user will be responsible for entering out-of-pocket cash expenses in CEMS.
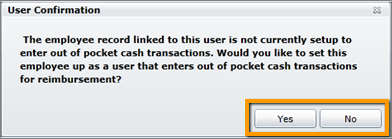
The user will be saved in the system and can begin adding cash transactions. Their card number will display as CASH in the Cardholder Listing.

