Comdata Expense Management System -- CEMS |
 |
Comdata Expense Management System -- CEMS |
|
Coding a transaction is the process of associating a transaction with GL accounting codes. For example, a user might code a transaction to a specific coding type (job, equipment, GL expense, and business unit), company, job, cost type, phase (billable or non-billable), GL account (if applicable), or amount. The general process for coding transactions is described below.
See these steps below for the following additional topics related to coding transactions: Configuring the Job Coding Display, Un-Coding Transactions, Default Coding, Airline and Rental Car Transactions, and Loading GL Accounting Codes.
1. On the Cardholder Transaction Coding page, select an un-coded transaction from the dashboard and select the green icon in the coding column.
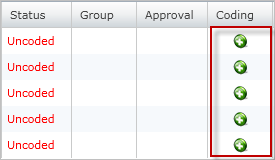
The Transaction Coding window will open. In order for a transaction to go into reviewed status, it must be coded in this window under the Transaction GL Coding section.
![]()
2. Code the transaction. Complete the list in the order that the fields appear.
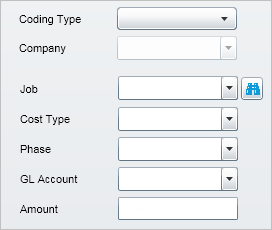
Note: There are six coding types: Jb/Ct/Ph (Job, Cost Type, Phase), Jb/Ph/Ct (Job, Phase, Cost Type), Equipment, GL Expense, Business Unit, and Sub Account. Depending on your ERP system and the coding types available to your company, the coding structures may be different.
Also note that the GL codes displayed are heavily dependent on your company value. If cross-company coding is selected, only the GL codes for the selected company will display.
3. Select Save when finished. The transaction is now ready to be approved.

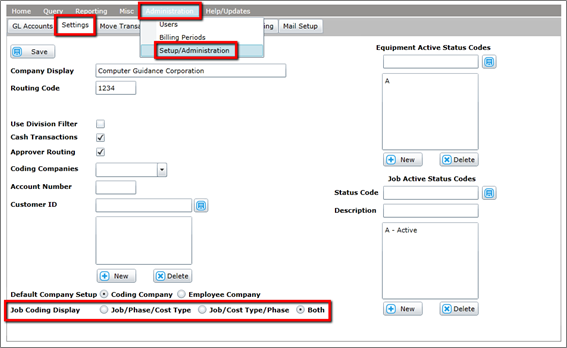
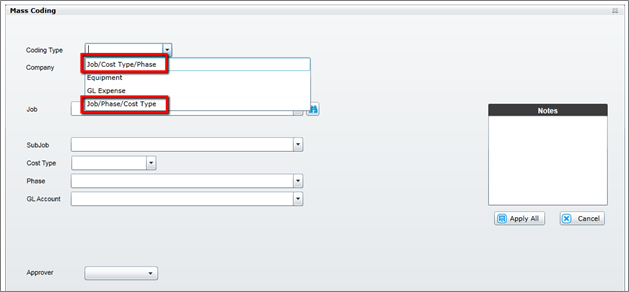
Administrator users can configure the display of the Job coding type under the Coding Type drop-down. The configuration settings can be found on the Settings page (Administration > Setup/Administration > Settings >Job Coding Display). The default Setting for the Job Coding Display field is Both, which means your users will be able to choose Job/Phase/Cost Type or Job/Cost Type/Phase during coding on both the Transaction Coding and Mass Coding windows.
You can restrict users to only one Job coding type by selecting either the Job/Phase/Cost Type or Job/Cost Type/Phase radio buttons. Be sure to select Save when finished.
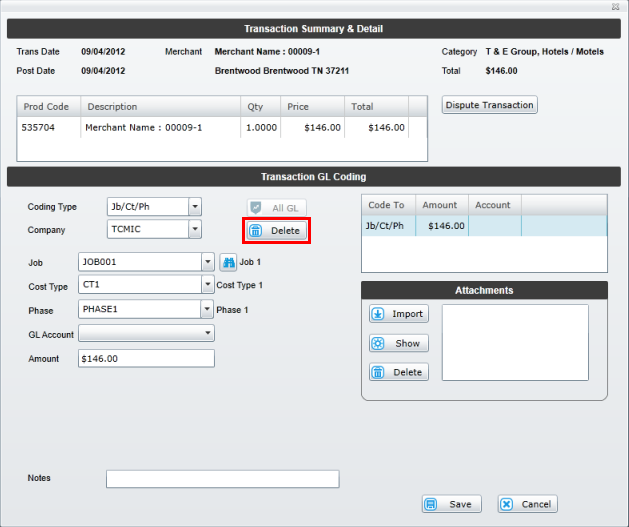
Example of Transaction Coding Window with Both
![]()
Example of Mass Coding Window with Both
Example of Transaction Coding with Only One Coding Type Selected
![]()
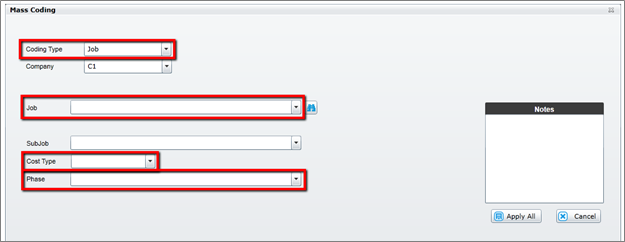
Example of Mass Coding Window with Only One Coding Type Selected
If you notice the coding is incorrect on a transaction and want to un-code it, simply select Delete on the Transaction Coding window. All coding for the transaction will be cleared and the status will return to un-coded.
You can assign a default coding structure to every transaction entered under a cardholder. First, set up your coding structure in the Transaction GL Coding section and then select Apply at the bottom of the window. The default coding will be applied to the cardholder. Then select Save to save the coding structure for that transaction. Every new transaction that enters CEMS under this cardholder will have this coding structure applied.
If you would like to remove default coding, select Misc from the main menu bar on your home page to open the Default Coding page. You should see a list of all the default coding structures you have applied. Select one and select Delete to permanently remove it.

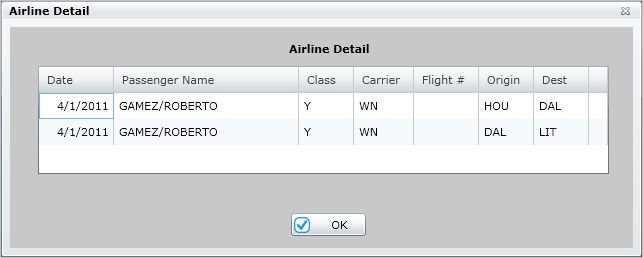
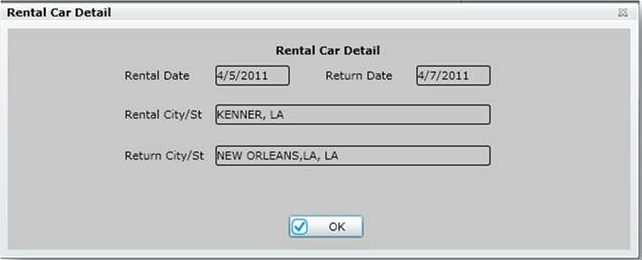
If your cardholder has made airline or rental transactions, a new button displays on the Transaction Viewer window and Transaction Coding window. This button only displays for transactions indicated as airline or rental car purchases by the MasterCard addenda data. If this button displays, there is additional information available for you to review on the transaction.

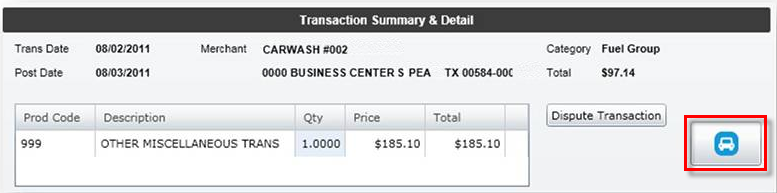
Select either button to open a window with additional details on the transaction.
When you open a new coding session, the system loads only those GL accounts set up for your default company code, which display when you select the GL Account drop-down option. If you are set up for cross-company coding (i.e., the Cross Company Coding function is enabled), you have the option to import all available company codes and GL accounts using the All GL button on the transaction coding window.
If you are not set up for cross-company coding (i.e., the Cross Company Coding function is disabled), the All GL button will be unavailable.

With the GL Expense coding
type, a search icon ![]() displays
next to the GL Account drop-down. Select this icon to open a window
used to quickly search for a GL account.
displays
next to the GL Account drop-down. Select this icon to open a window
used to quickly search for a GL account.
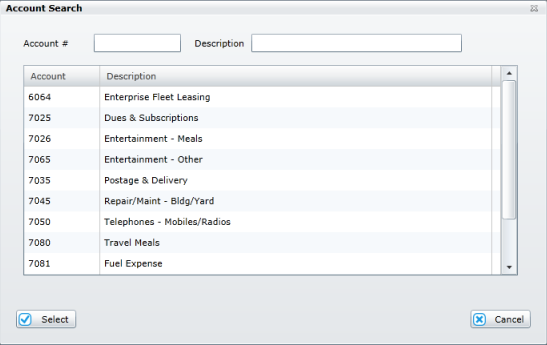
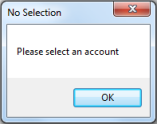
The Account Search window only displays the account codes for your default company code until you select the ALL GL button. If you have not selected the All GL button, and try to search for an account code that is not in your default, you will receive an error message.